Roman fashion
Fashion was around even in Ancient times! For the Romans, clothing was a way to represent the social class they belonged to: citizen, slave, child, patrician, etc. Here is a brief tutorial on how to make your own Roman patrician and Roman citizen outfit.
ROMAN PATRICIAN OUTFIT
Wealthy Roman women would wear a tunic, known as “decence”, and they would wear a stola over it, which was a kind of dress gathered either under the bosom or at the hips, and then flowing down to the feet, partly covering them.
Over this, she would wear a palla, a sort of large, draped shawl which went down to the knees (or sometimes to the ground).
To make your own Roman outfit, you’ll need 3 block-coloured pieces of fabric:
- For the “decence” tunic: 1 shoulder to feet height x 2 times the width of the doll with arms open wide
- The stola: same shape as the tunic, but wider: 1 shoulder to feet height x 2.5 times the width of the doll with arms open wide
- A belt (strand of wool, ribbon, rope, etc.)
- The palla: approx. 2x the height of the doll x 0.5 waist
The Romans used fabric made from dyed linen, hemp or wool. The brighter the colours, the wealthier the person. Here we have used linen and cotton (fabric we already had available!). Even if cotton is not historically correct, it is ideal for this costume and means you can choose some great colours.
The fabric was woven directly in the right sizes using a loom and was not cut to size. Of course, pieces of fabric today are produced in much bigger sizes. You’ll therefore have to cut the fabric down to size. If you would like a more durable costume, you’ll need to sew hems along the cut edges.
The steps to make your costume:
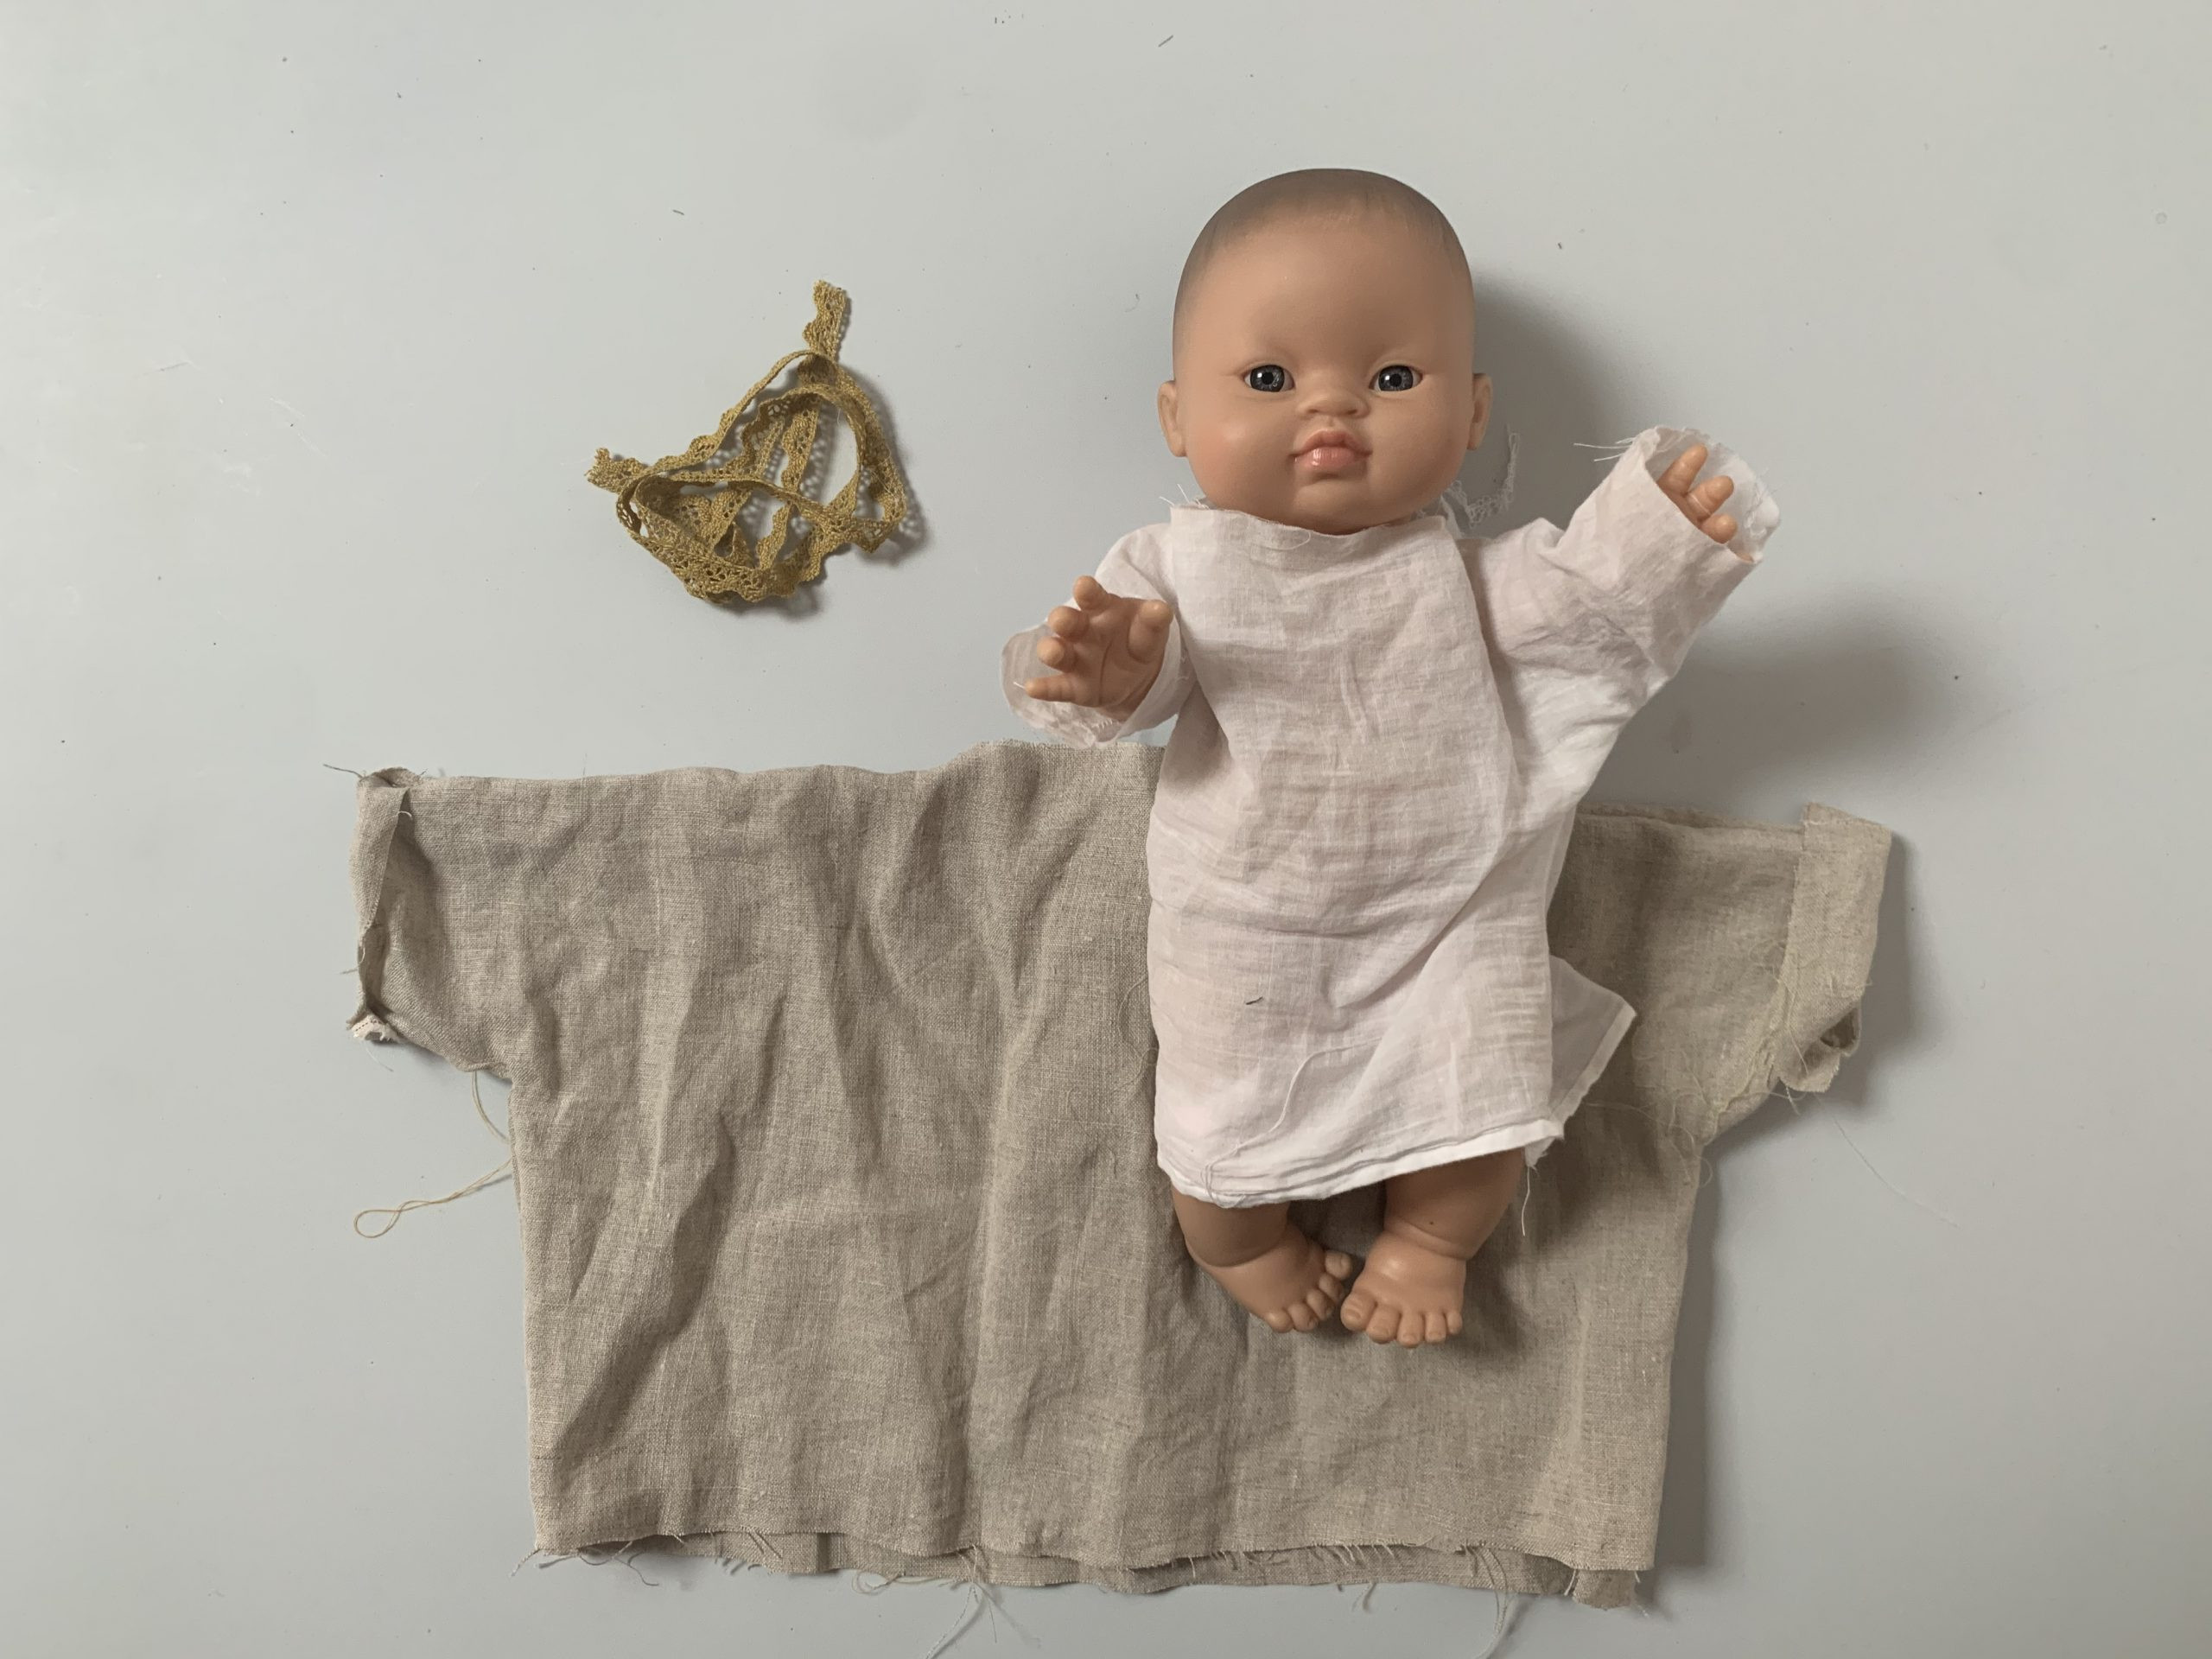
The “decence” tunic (equivalent of today’s underwear) is made using 4 rectangles:
1 at the front, one back and 2 sleeves sewn at the shoulders, armholes and on the sides.
To simplify this costume, we cut straight into a “T”-shaped tunic with shoulders and sides that were already sewn.
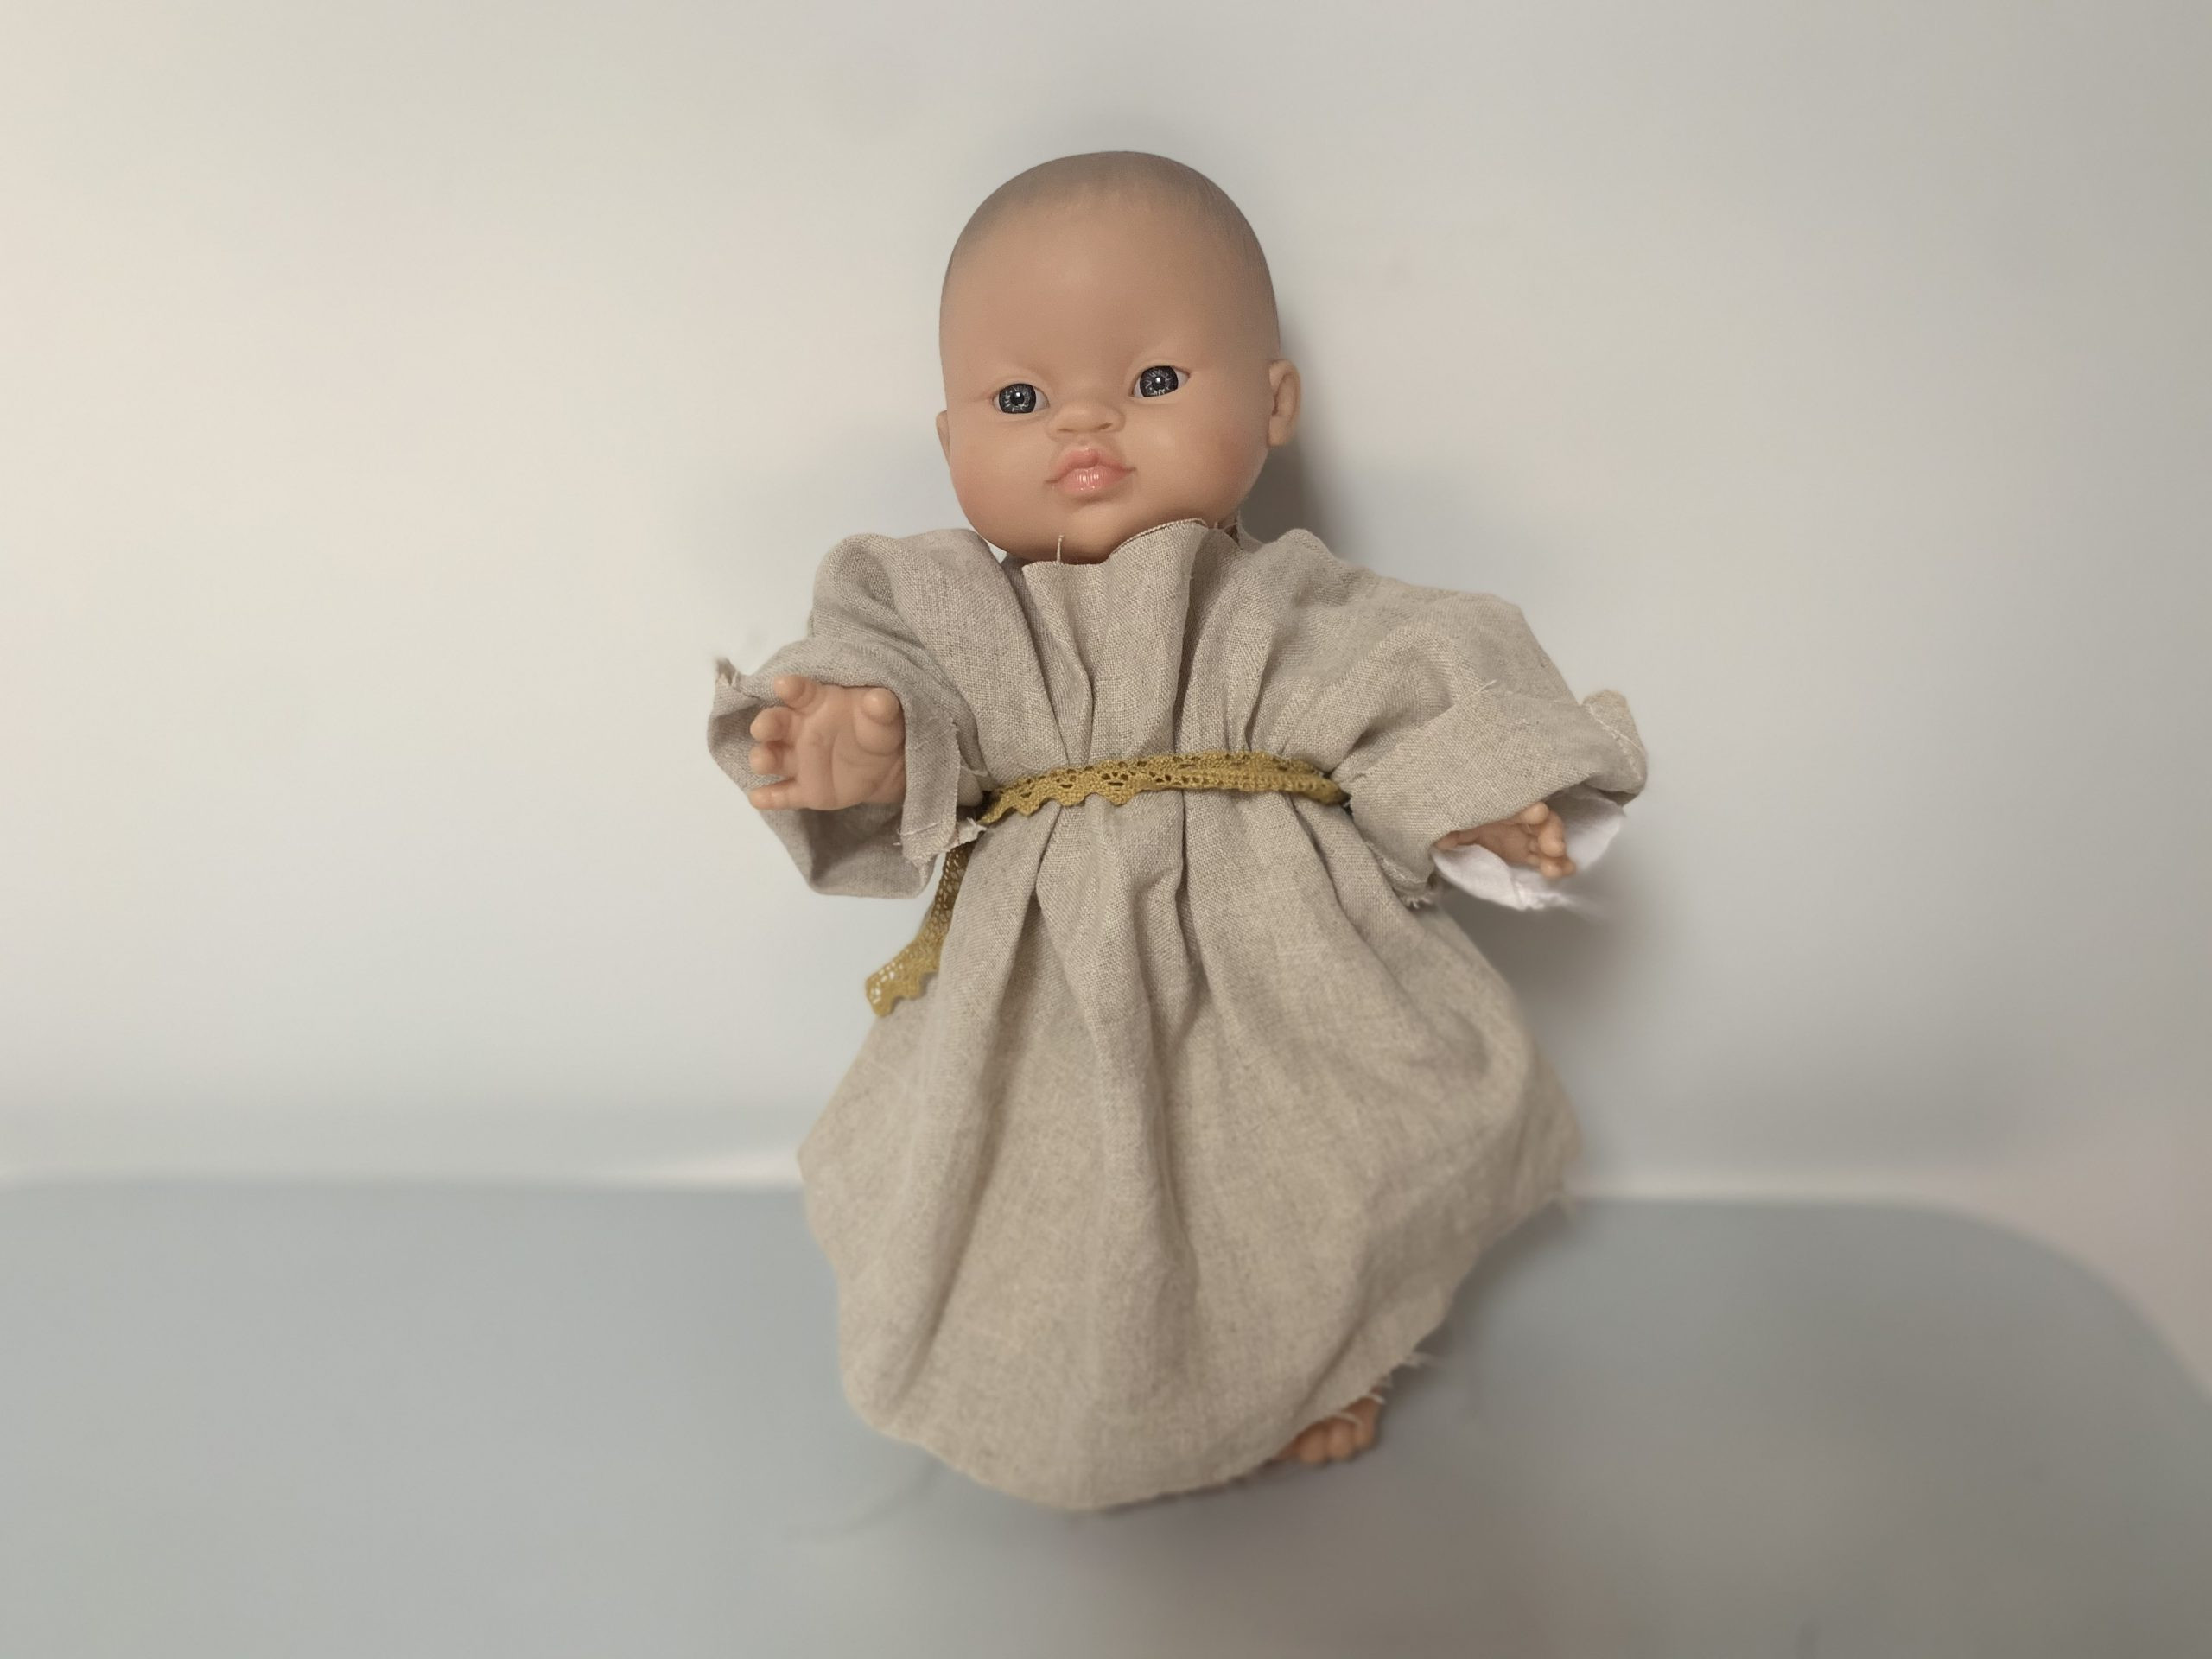
The stola is an improved version of the tunic.
It is much longer (to hide the feet) and worn loose with lots of fabric (sign of wealth).
The sleeves are often wide (sewn or buttoned, sometimes with decorative buttons).
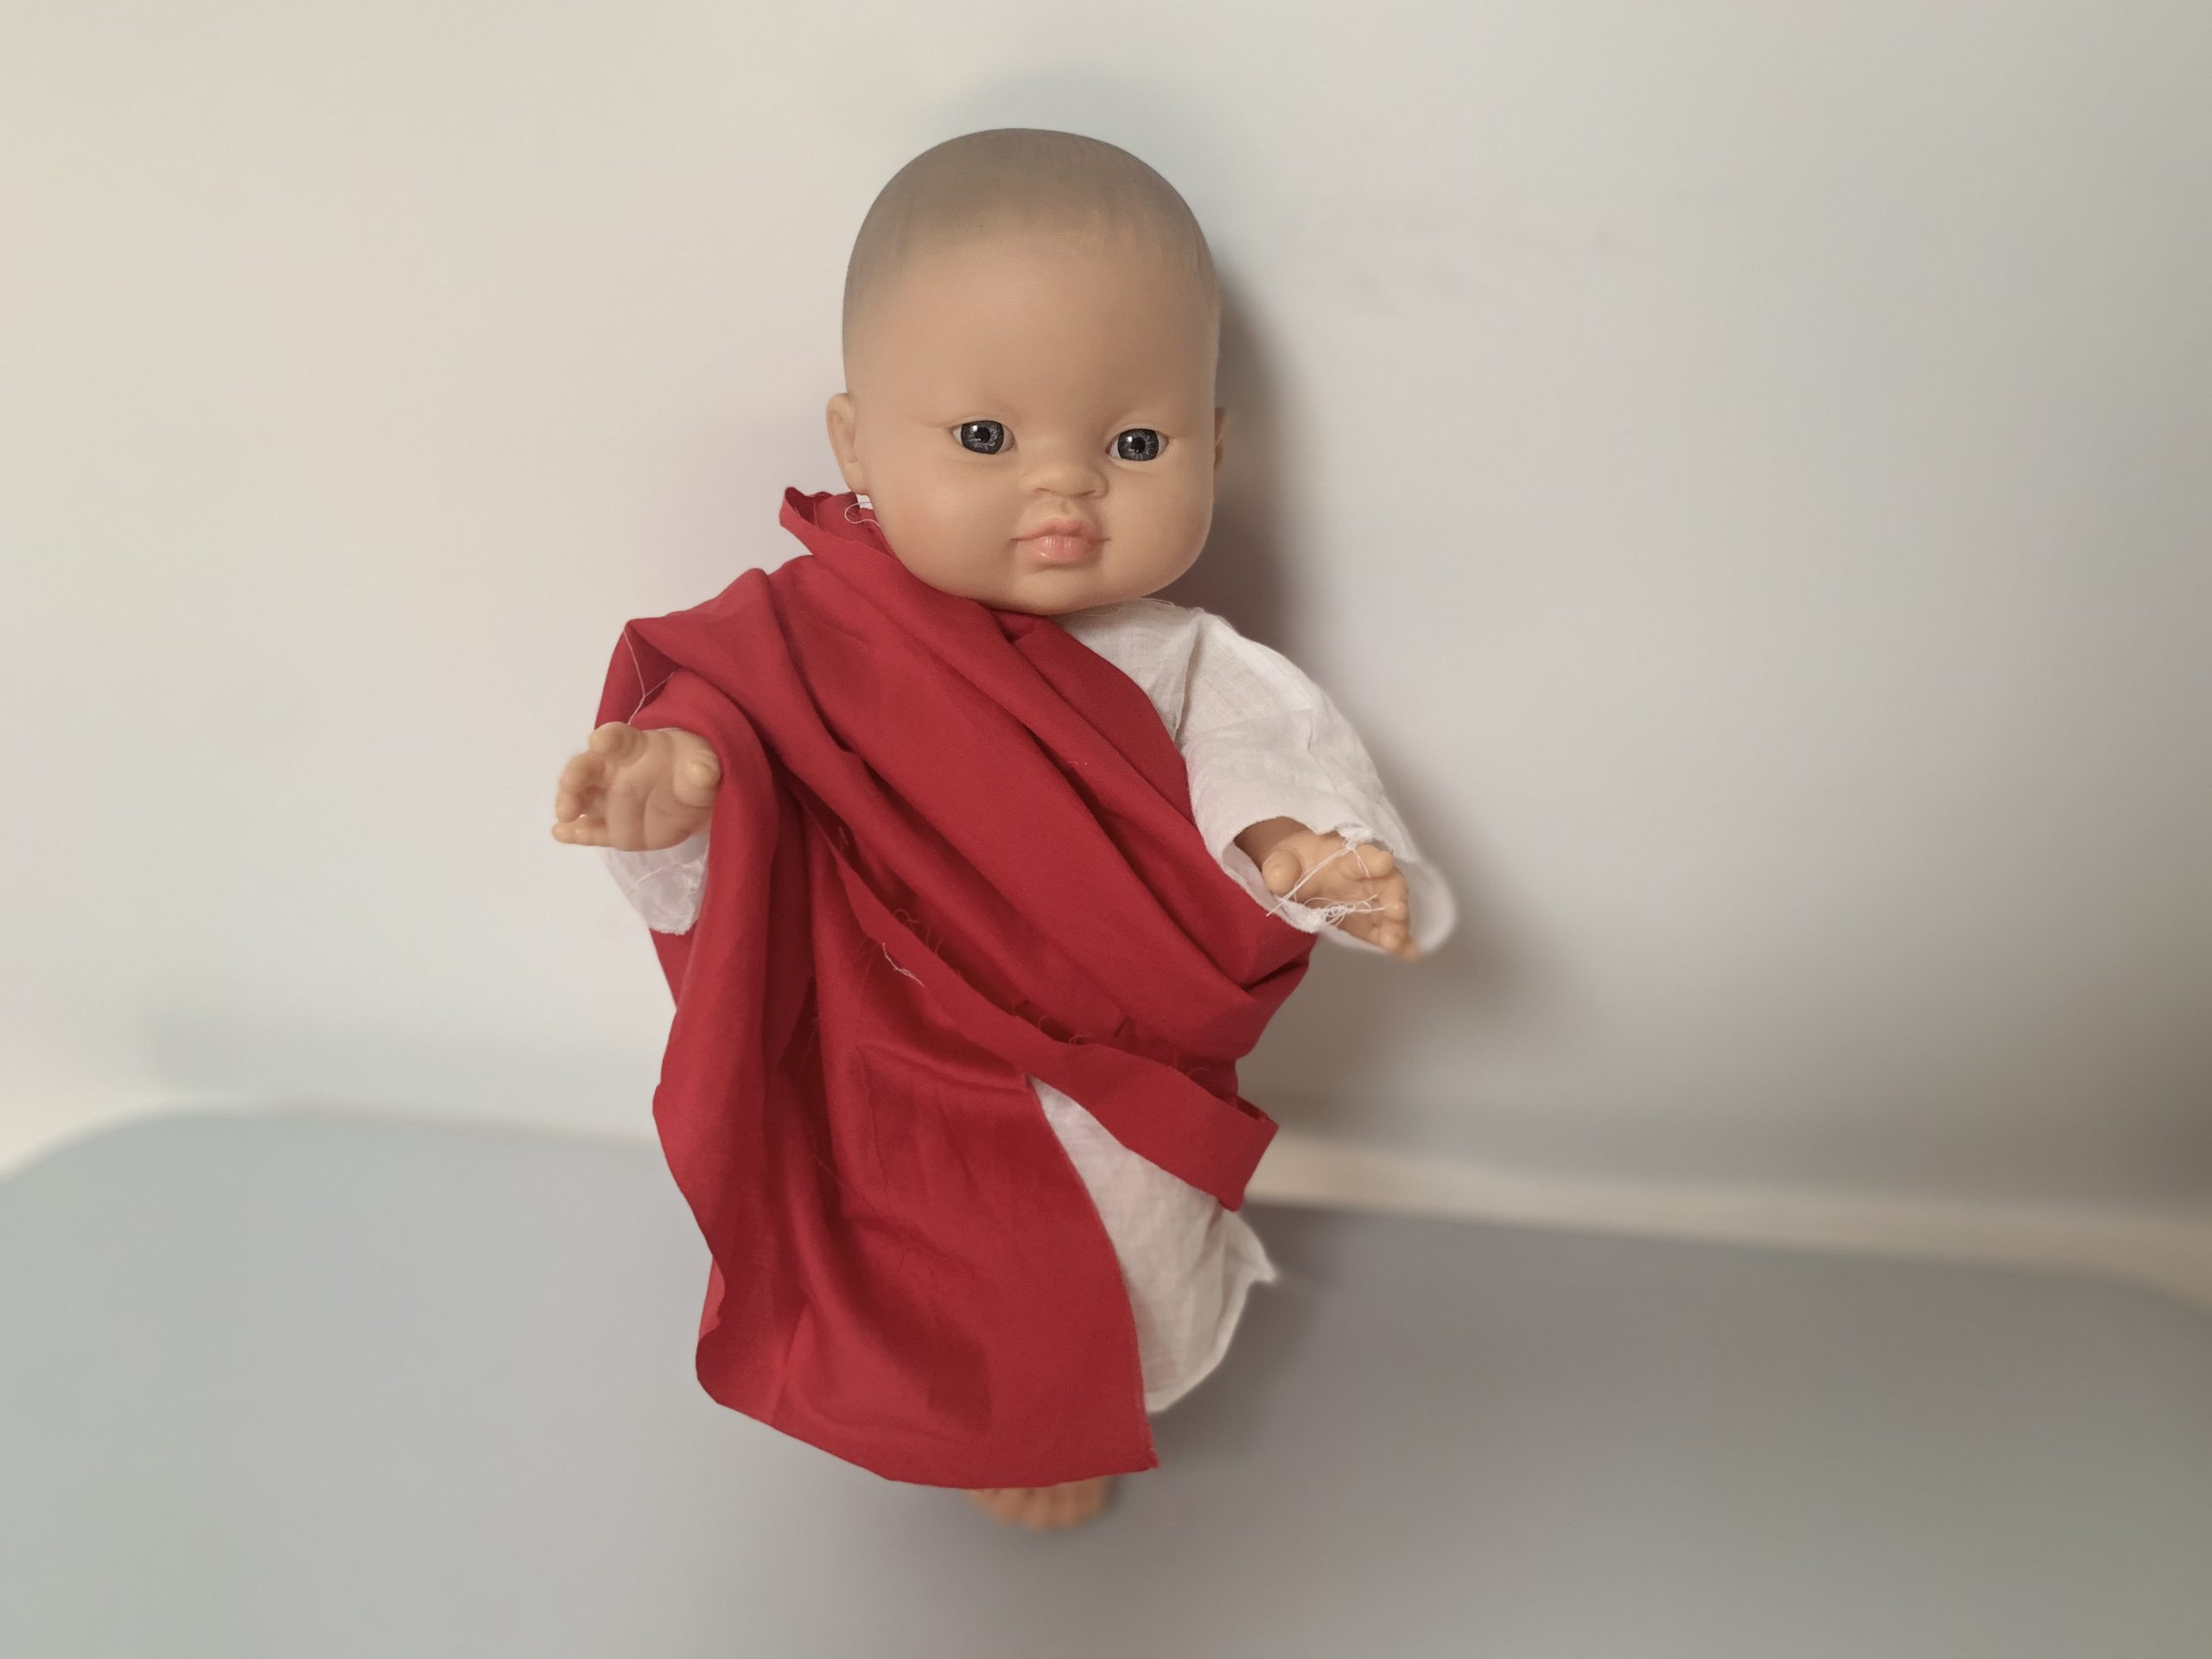
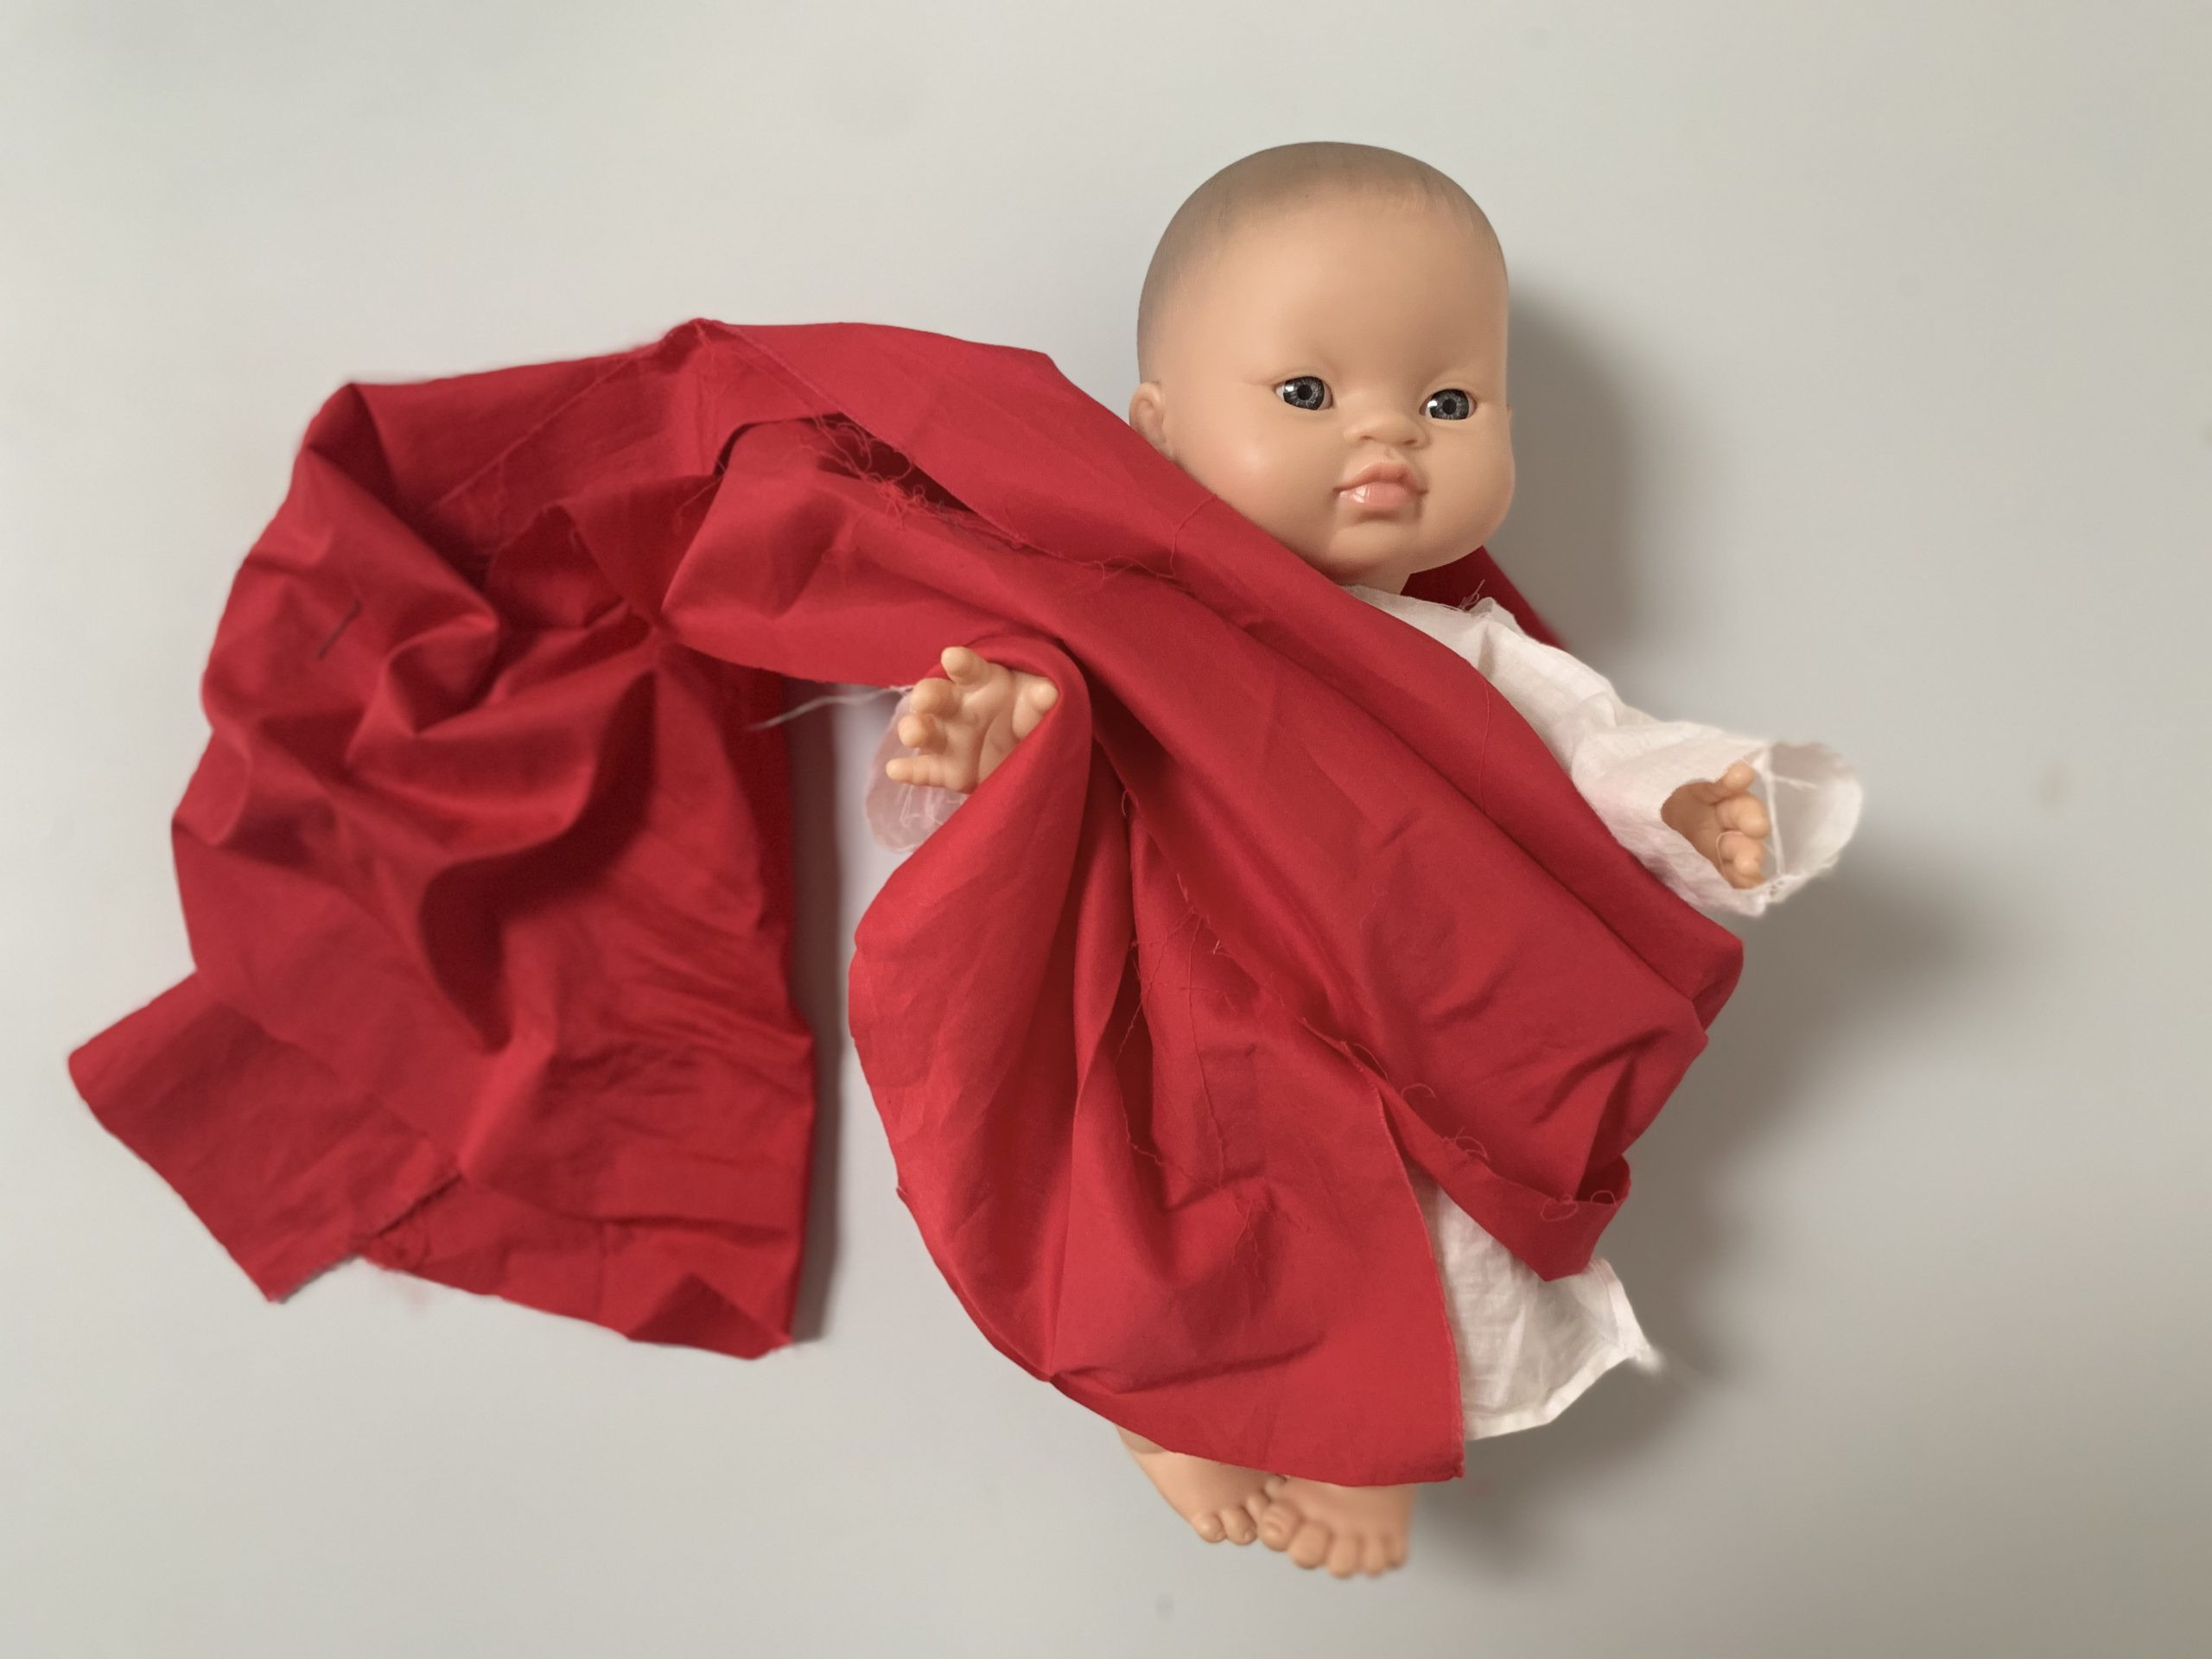
The palla was a sort of big rectangular shawl that was used as a coat.
It was attached either around the waist or just draped over the stola. It was passed under the right arm and then came back up to the right shoulder, folded in a very elegant way. A little added decorative touch: a bead can be added to each of the four corners, weighing down the garment.
Just like a toga, this coat is not supposed to be either sewn or attached.
And there you go! Your doll now looks like a beautiful Roman woman!
If you like, you could even adapt this technique to make a bigger version.
ROMAN CITIZEN TOGA
The toga was worn as a vestment, a symbol of the Roman citizen, worn over a tunic. A person’s status and education were reflected in the way in which his toga was draped, and the way in which they moved with this garment. The toga was quite a heavy outfit and had to be worn with a certain presence! Putting a toga on was a difficult task, and an impossible one without two slaves to assist. It’s much easier to dress a doll in one!
The steps to make your costume:
You’ll need a long piece of fabric: height of the doll x 200 cm or more. You need at least 6m50 for an adult size! Cut two of the edges into a semi-circle.
Most togas were an off-white colour with a strip of colour sewn onto the side, but they could also come in other colours. The colour purple was for example used for generals during official ceremonies. White fabric did not exist, so beige fabric would need to be dyed using chalk.
Take one end of the fabric and drape it over the left shoulder, so that one of the corners of the fabric reaches the feet, and is placed between the feet. Cover the back and then pass the fabric under the right arm at the waist: forming a big bulge. The rest of the fabric is pulled up towards the left shoulder and what is left is thrown over the left shoulder.
Result: the second semi-circle corner should be on the back.
A little added decorative touch: a bead can be added to the two corners, weighing down the garment, just like with the palla.
